Manual Flushometer Won’t Flush: What to Check
A manual flushometer that will not flush needs water supply and handle checks before an internal rebuild. One dead fixture can have a local stop or handle fault; several weak fixtures suggest a shared supply problem.
Compare nearby fixtures first. Check known outage/service history and the documented control-stop position without forcing a seized valve. Record whether the handle has normal resistance and whether any water flows.
Internal service requires positive water isolation and pressure relief. Closing a stop and pressing the handle is not proof of isolation if water continues flowing; do not loosen the cover in that condition.
Match the symptom before you touch anything
| What you see | What it points toward | First move |
|---|---|---|
| Handle moves, nothing happens | Closed stop, handle passage, relief assembly | Verify water and stop position first. |
| Weak short flush | Restricted stop, wrong kit, low pressure | Open stop gradually and compare nearby fixtures. |
| No handle resistance | Broken handle assembly | Inspect handle components. |
| Several fixtures weak | Shared supply problem | Investigate upstream conditions. |
| Failed after plumbing shutdown | Debris in valve | Inspect internal passages. |
Tools and preparation
What to bring
- Flat-blade screwdriver
- Flashlight
- Smooth-jaw wrench
- Rags
- Correct handle/diaphragm kit if needed
Before you start
- Confirm the exact location and complaint.
- Photograph labels, settings, and error codes before changing anything.
- Know how to isolate water, power, or the affected area if needed.
- Follow site-specific PPE, lockout/tagout, ladder, roof, and access procedures.
No flush, weak flush or no handle resistance?
No flow with normal handle movement can involve a closed stop, supply loss or an internal relief problem. A loose or stuck handle directs attention to its assembly. A weak flush can involve supply, stop setting, fixture requirements or incorrect internal parts; avoid opening the stop fully by default.
Identify whether the valve is diaphragm or piston operated and match the repair procedure to its series. Photograph the existing markings before ordering a kit.
For automatic fixtures use sensor flushometer checks. Water around the handle belongs in the handle-leak guide; flow that starts but will not stop needs run-on diagnosis.
Step-by-step
Confirm the fixture has water
Check nearby fixtures; multiple weak fixtures point upstream.
Check the control stop
Make sure it is not closed; open it slowly rather than fully.
Feel the handle operation
A loose, jammed, or leaking handle points toward the handle assembly.
Shut off water before service
Close the stop and operate the handle once to relieve pressure.
Inspect handle and relief components
Look for worn seals, broken parts, and debris.
Inspect diaphragm assembly
Verify internal parts are intact and correctly installed.
Reassemble and test
Restore water slowly and test multiple flushes.
Common mistakes
- Replacing the diaphragm before checking water
- Opening the valve while pressurized
- Using the wrong handle kit
- Ignoring shared pressure problems
- Over-opening the stop
When to stop and hand it off
- Multiple fixtures are affected
- Control stop is seized or leaking
- Supply piping is damaged
- Valve body is cracked
- Correct parts cannot be identified
Frequently asked questions
What if the handle moves normally but nothing happens?
Verify supply first, then inspect the handle/relief path and diaphragm assembly.
Can low pressure stop a flushometer?
Yes. Flushometers need adequate pressure and flow.
Why after a shutdown?
Restored water can carry sediment into small passages.
Do I need a whole new valve?
Usually not as the first move; many failures are service-part or supply issues.
Related BuildingWrench guides
What to document
Record nearby fixture behavior, water-service history, stop position, handle feel, any flow and valve/fixture specifications. After service verify several effective flushes, complete shutoff and dry cover, handle and connections.
BuildingWrench provides general educational information for commercial-facility maintenance. Manufacturer instructions, applicable codes, site procedures, and required trade qualifications always take priority.
Tools that fit this task
Use what you already own first. These affiliate links may earn a commission at no extra cost to you. Confirm model and compatibility before buying.
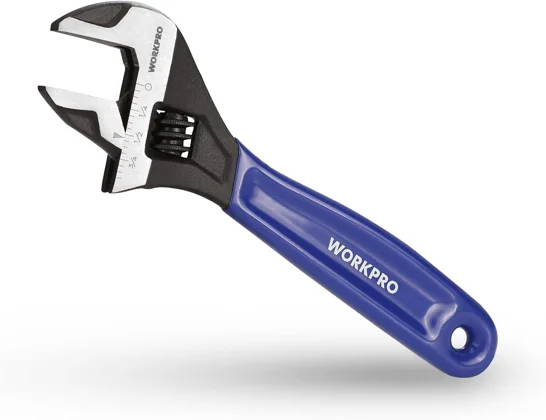
Smooth jaws help protect fittings; verify jaw opening fits the specific fitting.
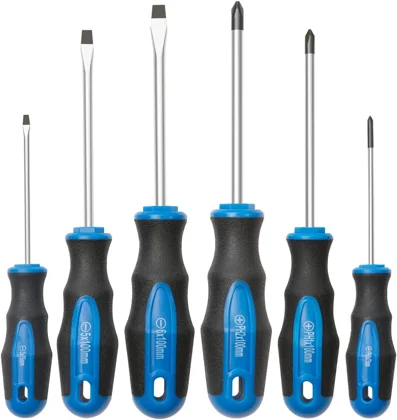
Use the bit that fully fits the fastener; use hand control for small adjustments.
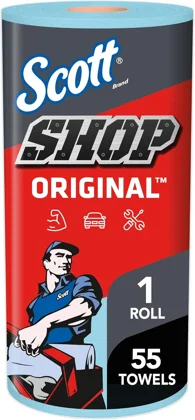
Dry accessible surfaces so fresh leakage is easier to identify; not for hazardous spill cleanup.